
French Bread
Bread. It is my favorite thing. Well, one of them at least. Warm, crusty, chewy french bread is at the top of that list. From the research I did getting prepared for this at home, it seemed like a daunting task. The number of variations of technique seemed endless. One of the easier to follow and understand recipes I found was off the quirky yet knowledgeable white trash cooking videos.
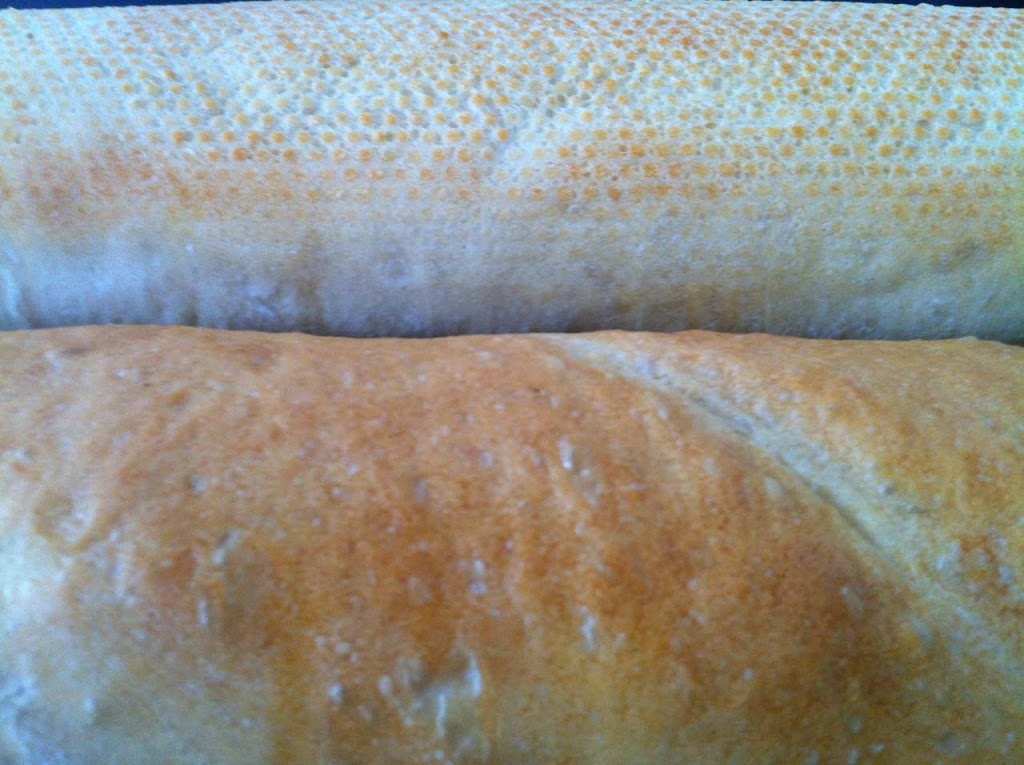
To get that crust that we are all so familiar with, the signature of the french bread loaf, I purchased this Chicago Metallic Commercial II Non-Stick Perforated French Bread Pan. The perforated bottom allows for the moisture to escape under the loaf and give that crunch all around! This thing worked wonders, as you will see below.
Ingredients: (yields 3 loaves or 4 small loaves)
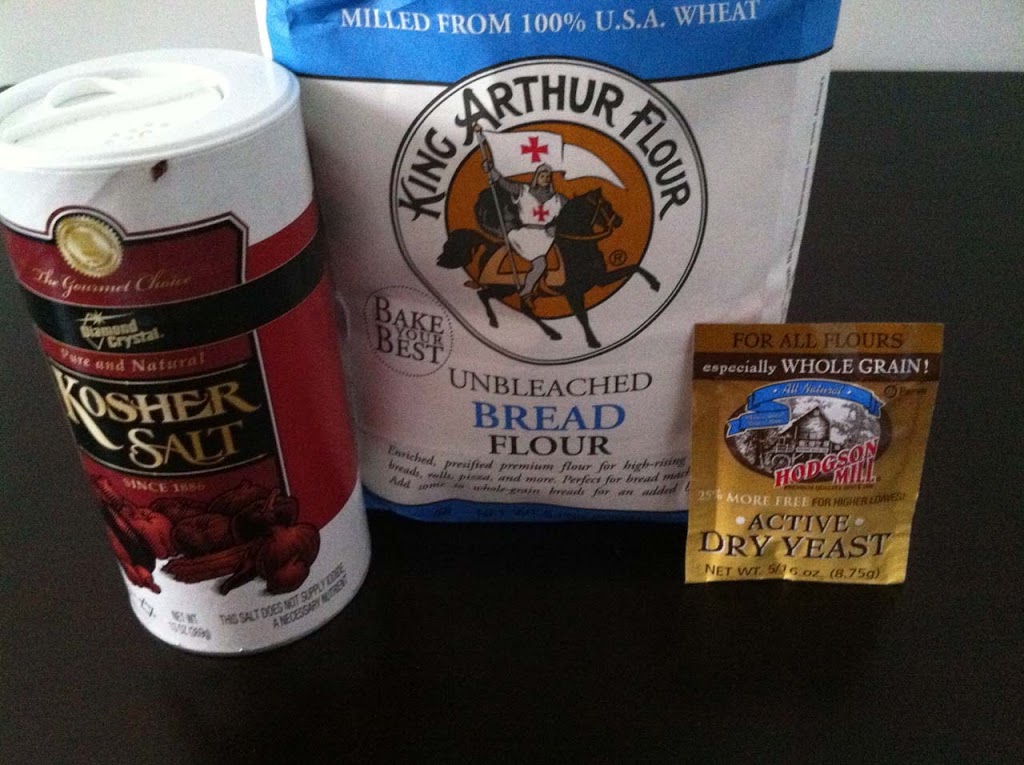
- 7 cups bread flour sifted
- 2 1/2 cups warm water (113 degrees)
- 1 tablespoon active dry yeast (about 1 1/2 packets)
- 2 teaspoons kosher salt
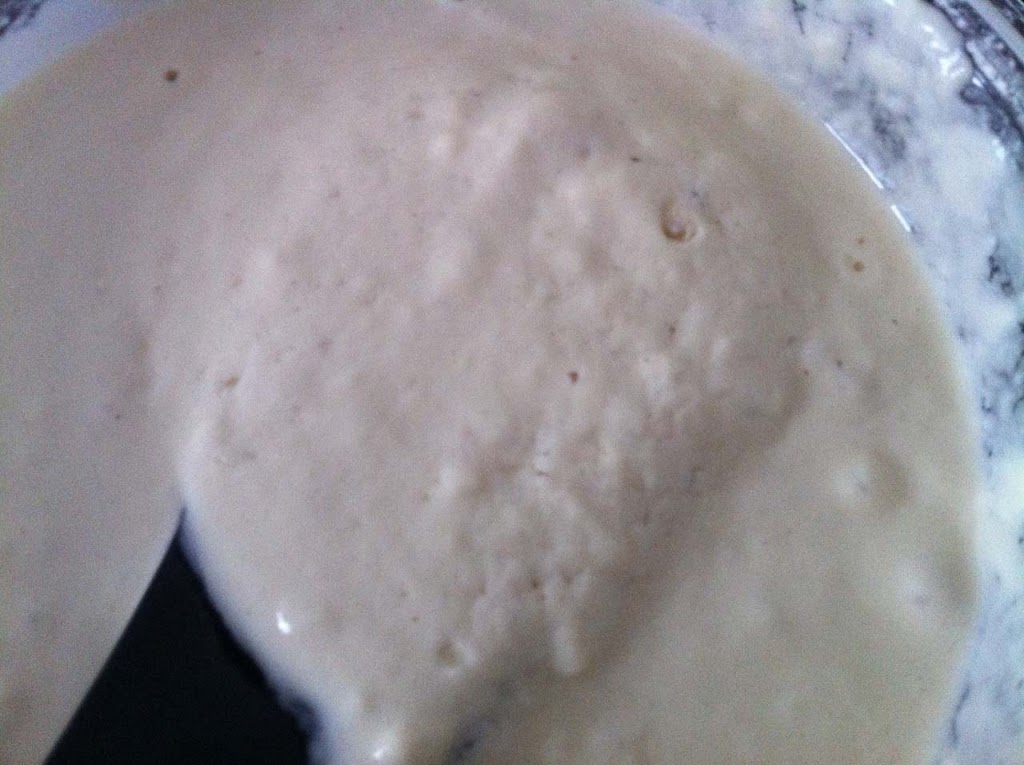
In a medium sized bowl I placed in 1 1/2 cups of flour, 1 tablespoon of yeast, and 2 1/2 cups of warm water. I mixed this until the consistency was that of a wet spongy batter. I let the yeast mixture sit for 10 minutes until nice bubbles formed. It is essential to let these bubbles form, do not add the salt yet, or even bring it anywhere near. The salt would shut down the yeast and prevent it from doing its job.
To my dough mixture I added a small amount of flour at a time until I was able to turn it out onto a floured surface, I used some of my measured out flour to flour the surface. The dough was still quite sticky which is important.
I added 2 teaspoons of salt while folding and kneading the dough. I continued adding the flour until it was all incorporated. You want to make sure not to over flour though. This depends on a lot of factors including the temperature of your workspace. So, make sure that as you add the flour it remains always slightly sticky or tacky.

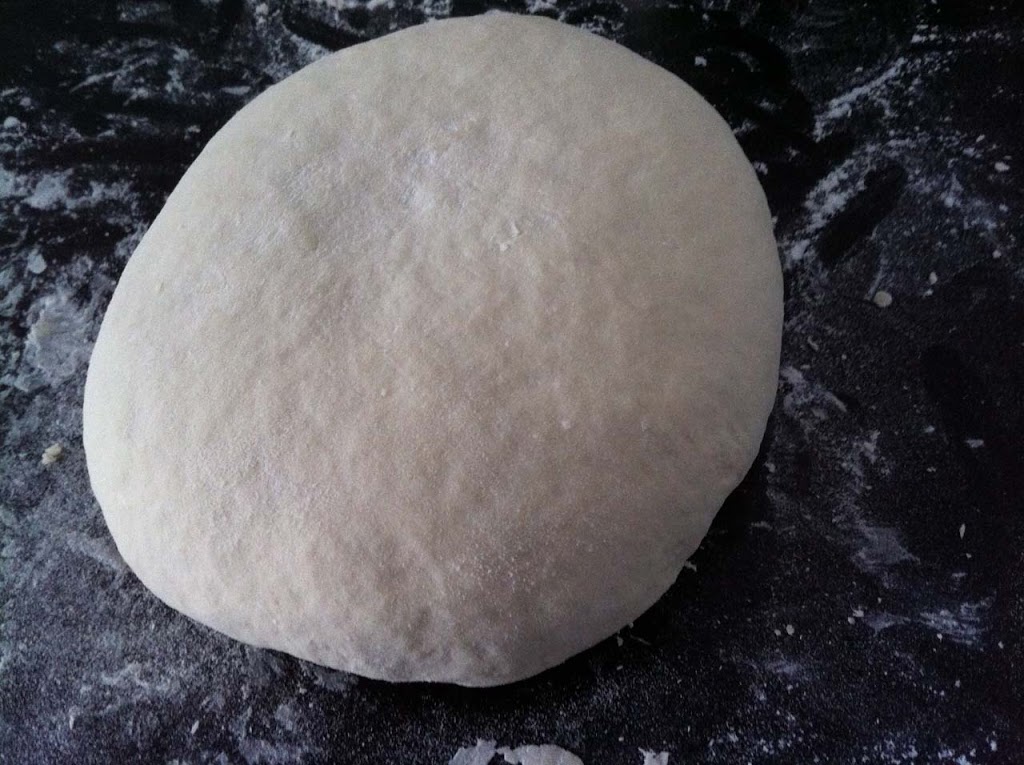
After I kneaded the dough for 10 minutes, I shaped it into a ball and placed it into my greased mixer bowl turning it over so both sides would be slightly coated.
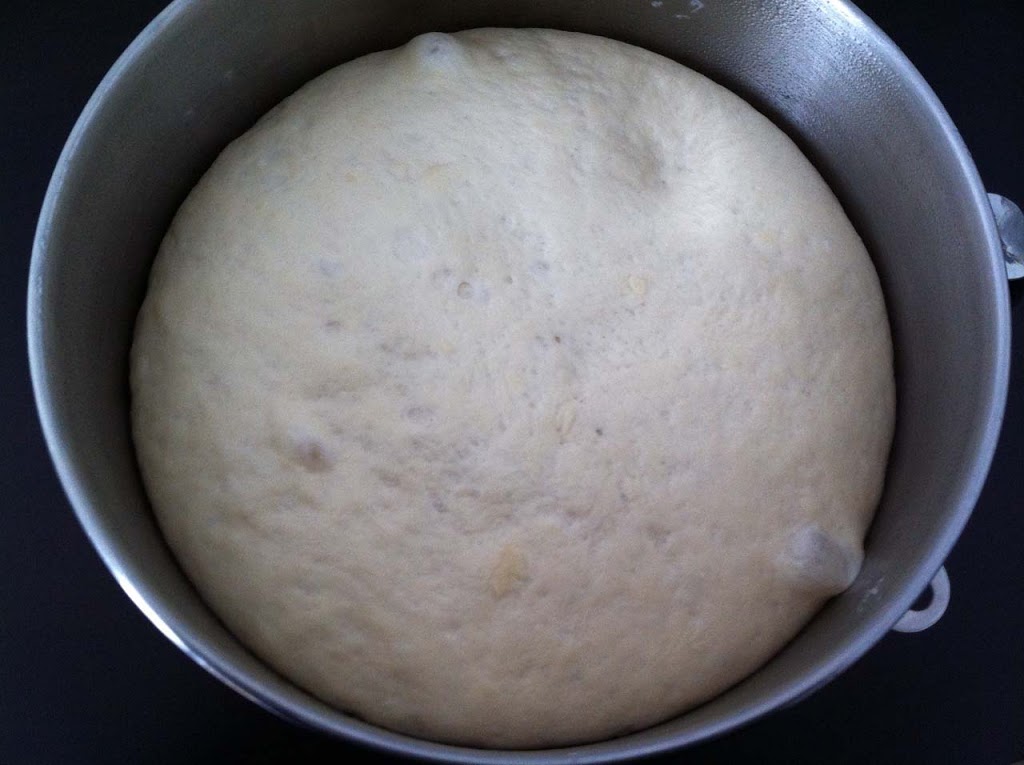
I wrapped my bowl in plastic wrap and let it rise for 2 hours. This time can be spent contemplating what you will eat on your bread.
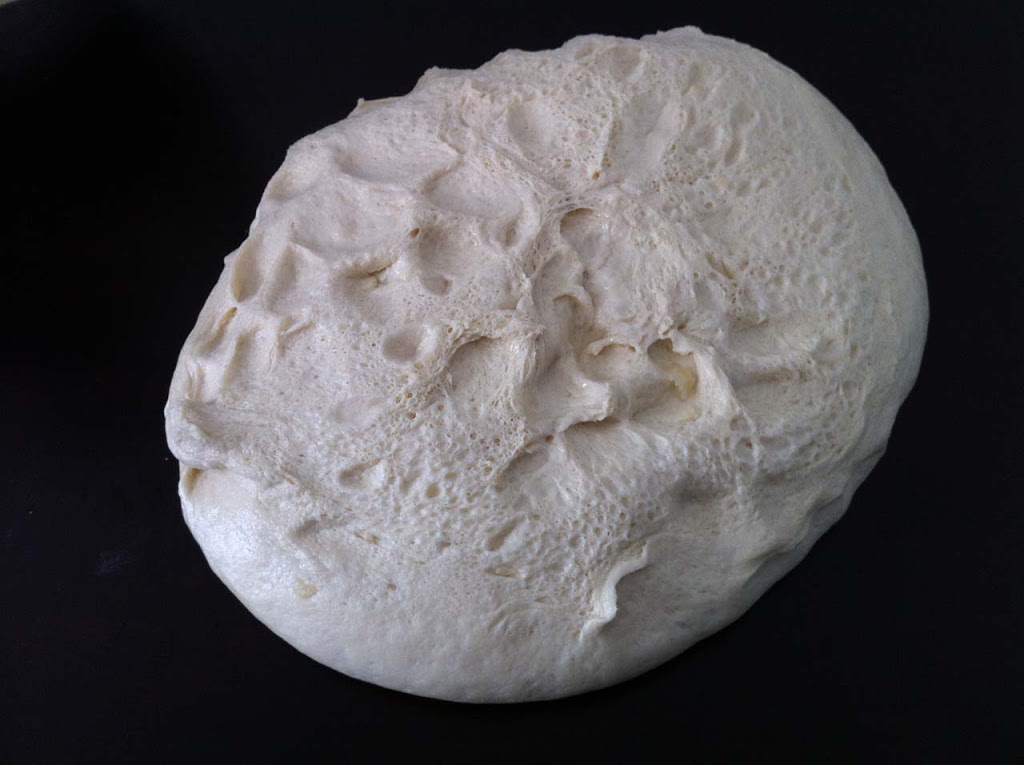
When the 2 hours was up I gently turned the dough out of the bowl and folded it a few times.
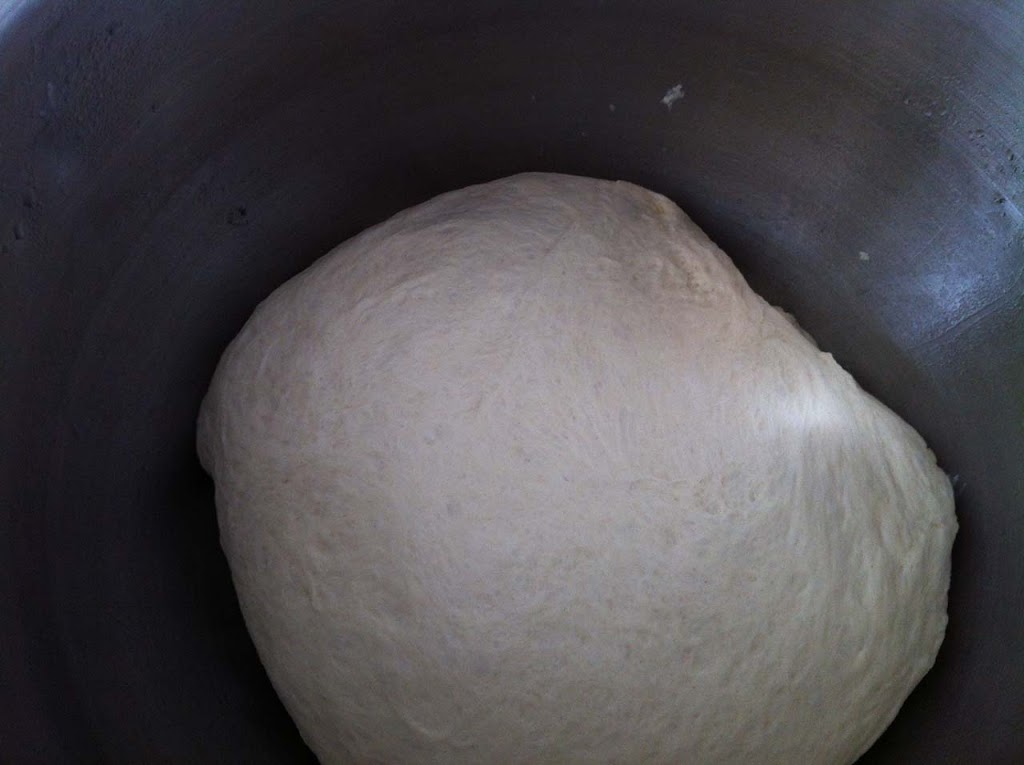
Then I reshaped it into a ball before I placed it back into the mixer bowl. While folding and reshaping, it is essential to remain gentle. I recovered it and let it rise again for another hour.

When the hour was up I divided my dough into four equal pieces. I shaped each loaf as I describe below.
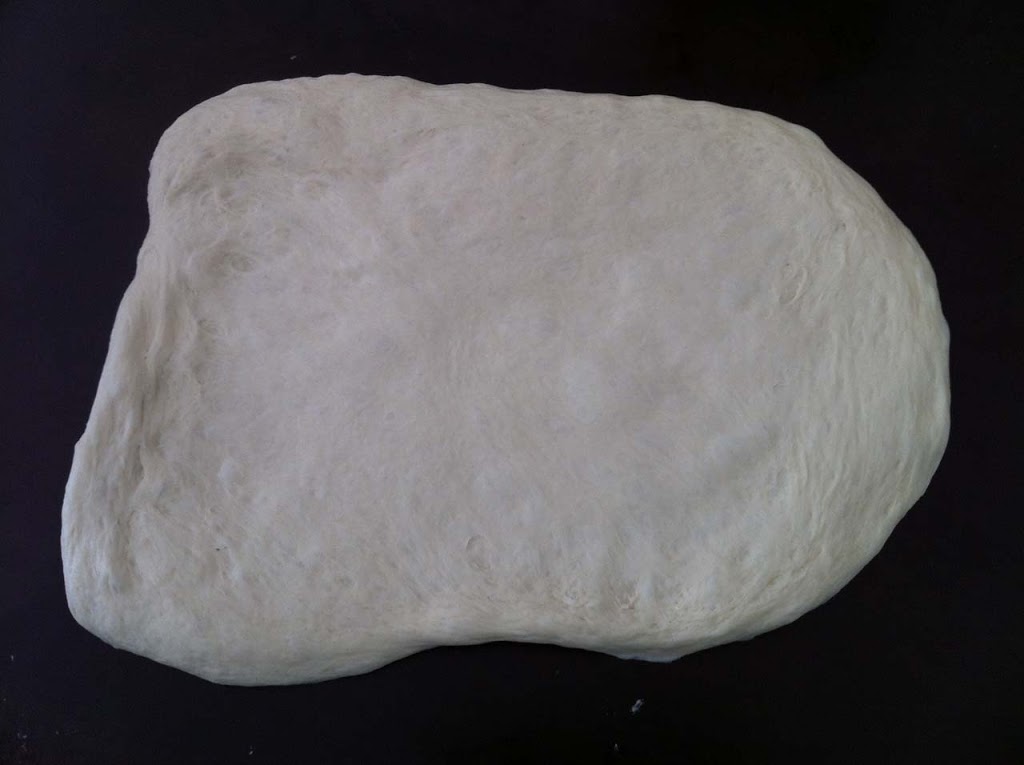
I gently flattened my dough into a rectangle.
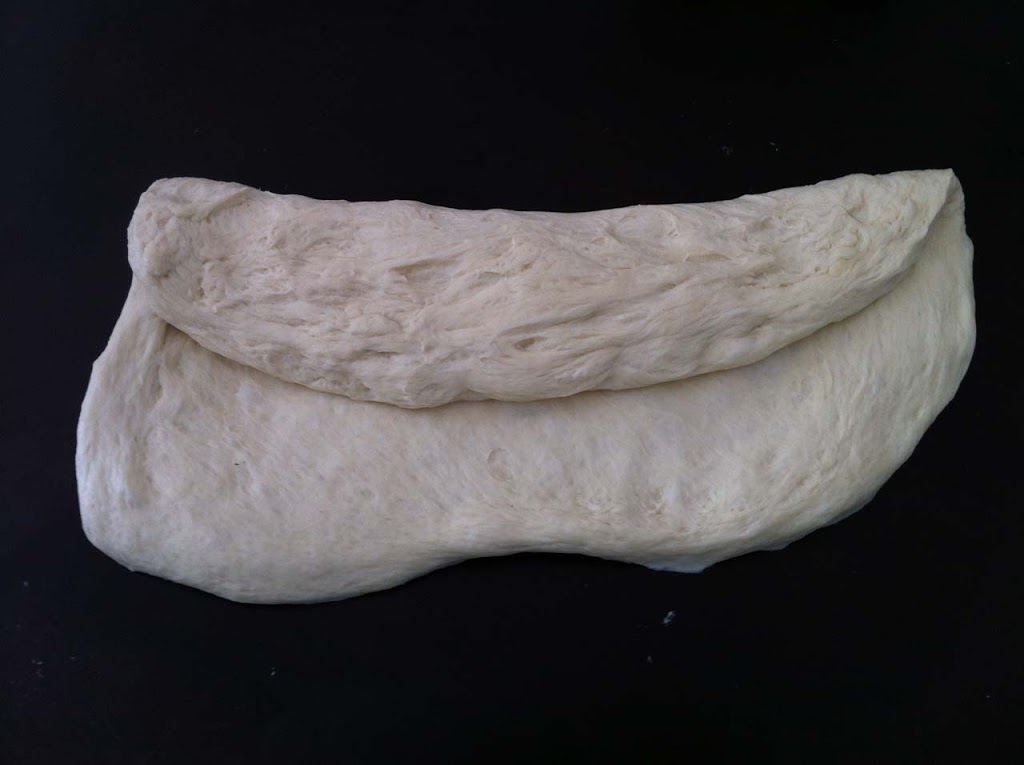
I folded the top half towards me and gently pressed down the ends.
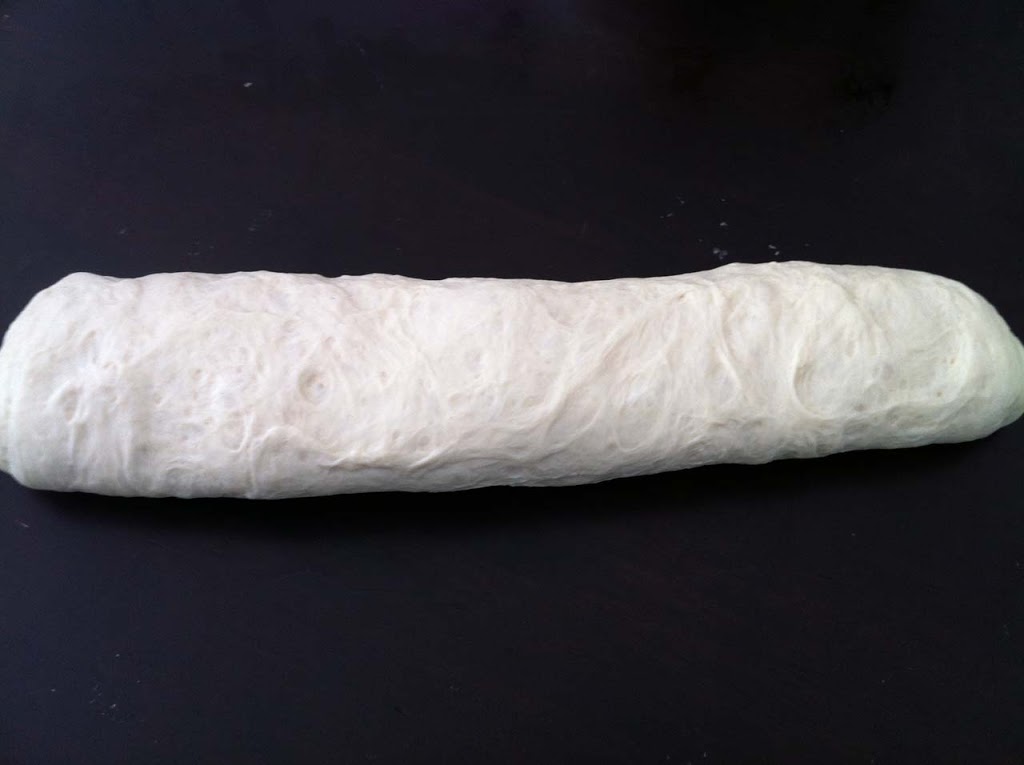
I folded the bottom half upwards towards the middle and gently pressed down the ends.
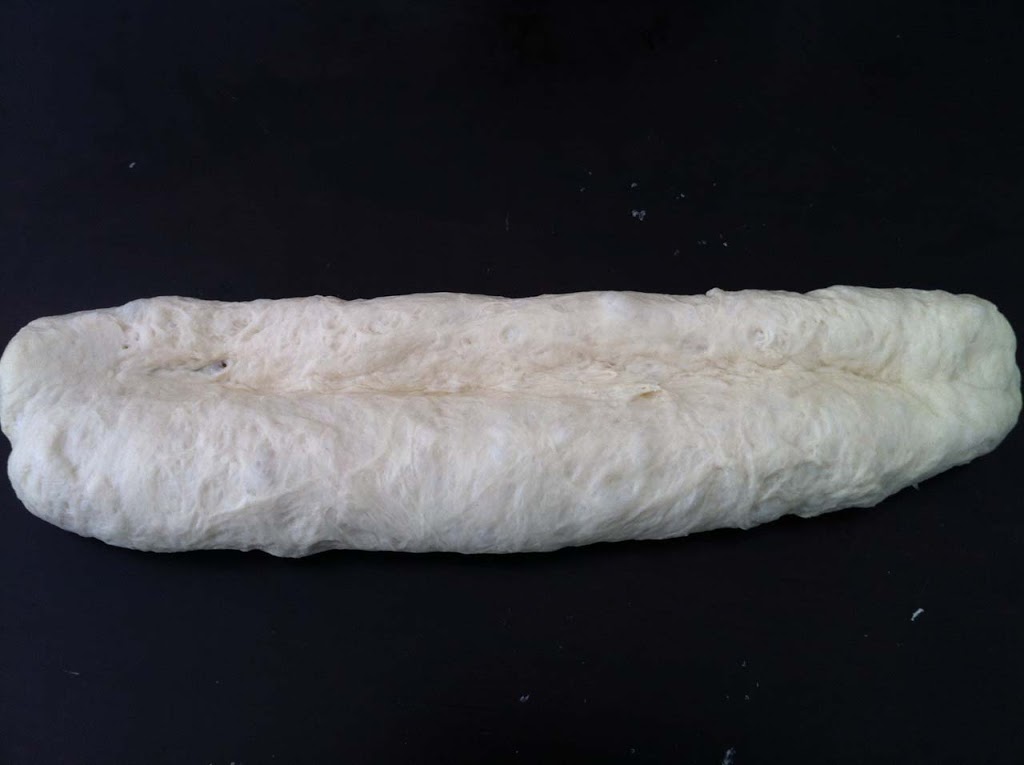
Then with the last seam side facing up I gently place the side of my hand into the dough creating a crease.
I gently pinched together both ends of the crease all the way down the loaf
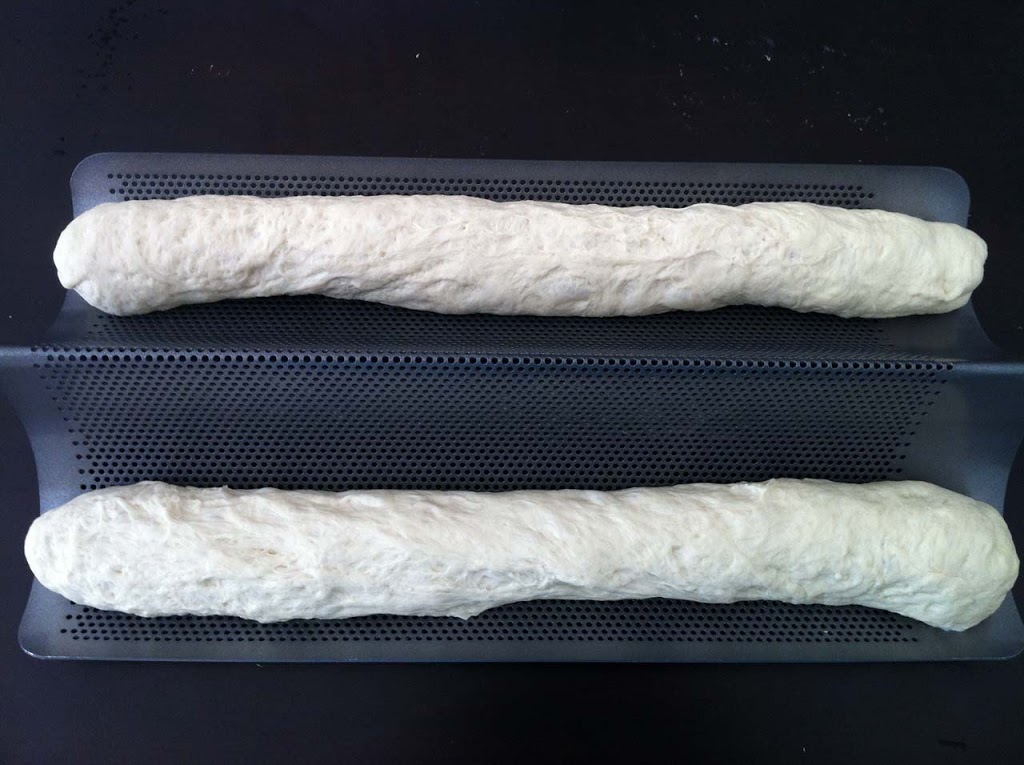
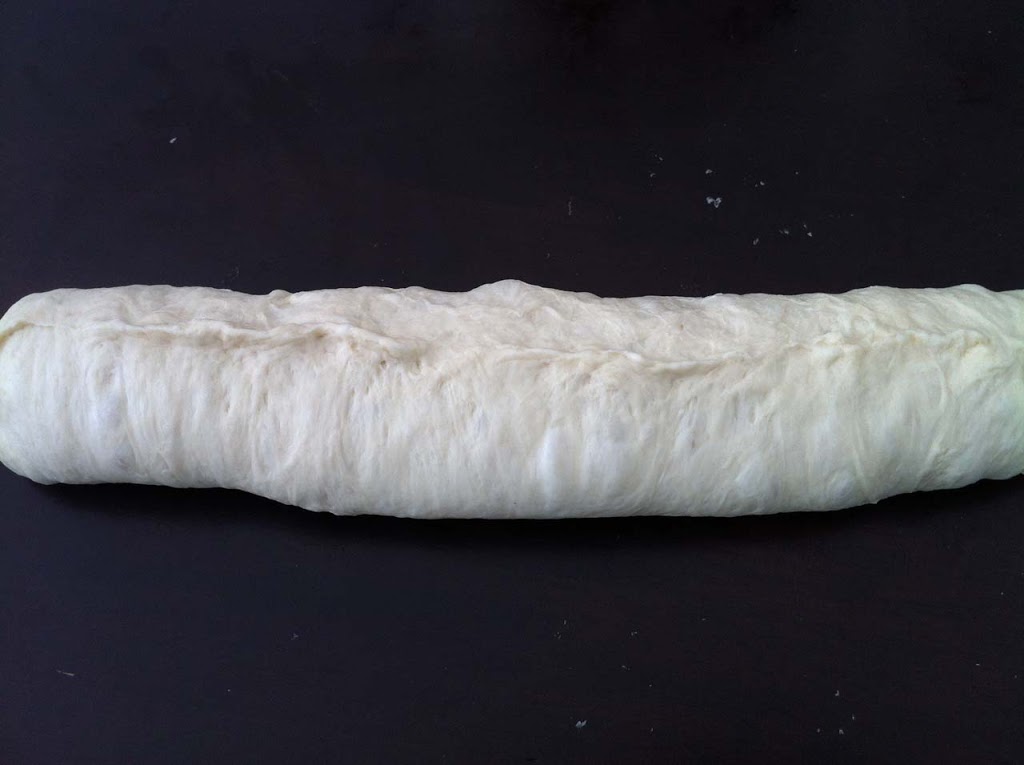
I rolled the dough as evenly as possible into a loaf shape making sure it did not extend out of the french bread pan too much. I placed my french bread pan into a cookie sheet to deal with any overhanging ends.
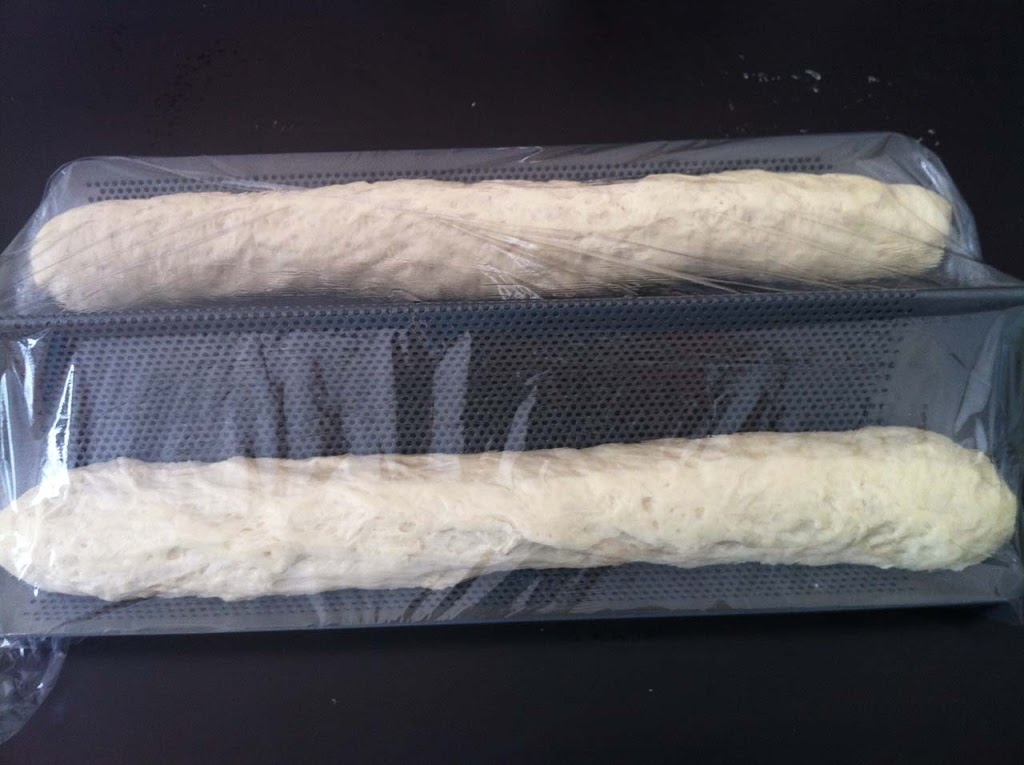
I then covered it in plastic wrap that I slightly greased. I let the loaves rise for 45 minutes.
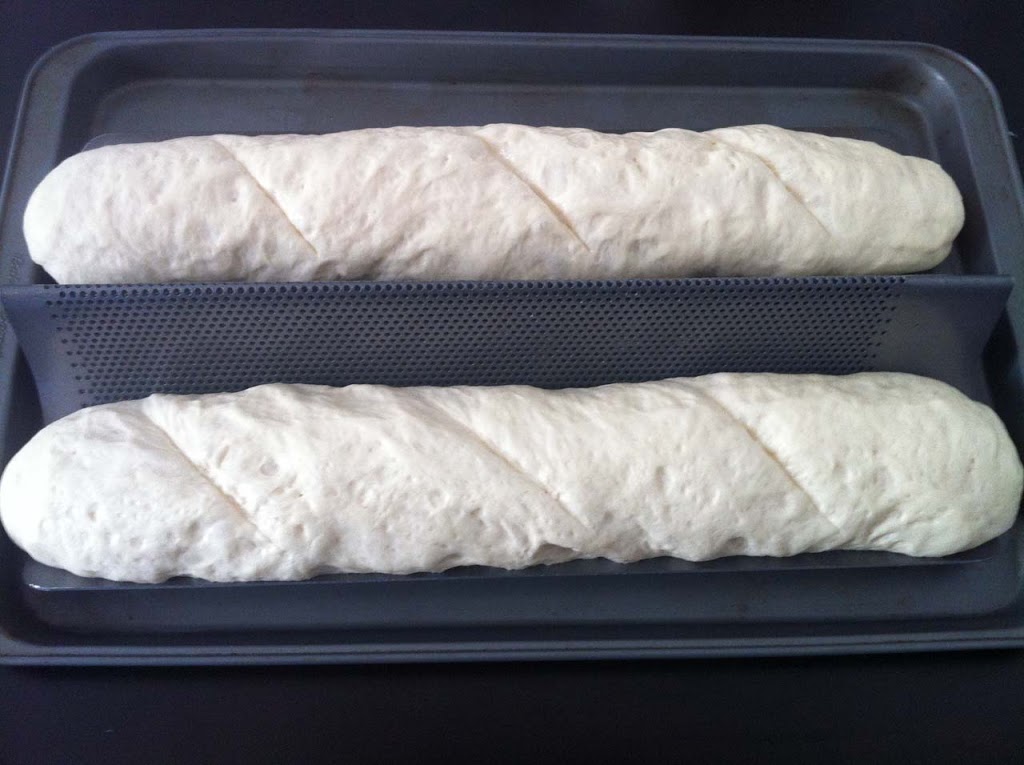
While the loaves were rising I preheated the oven to 425 degrees. Once the 45 minutes was up I slit the loaf in three places diagonally about 1/4 inch deep. I then place my loaves into the oven on the middle rack.
Then every minute for the first 3 minutes I opened my oven and quickly sprayed (using a misting selection on a spray bottle) the bread, the bottom of the oven, and the sides of the oven. Please note, always use caution when spraying water into your oven.
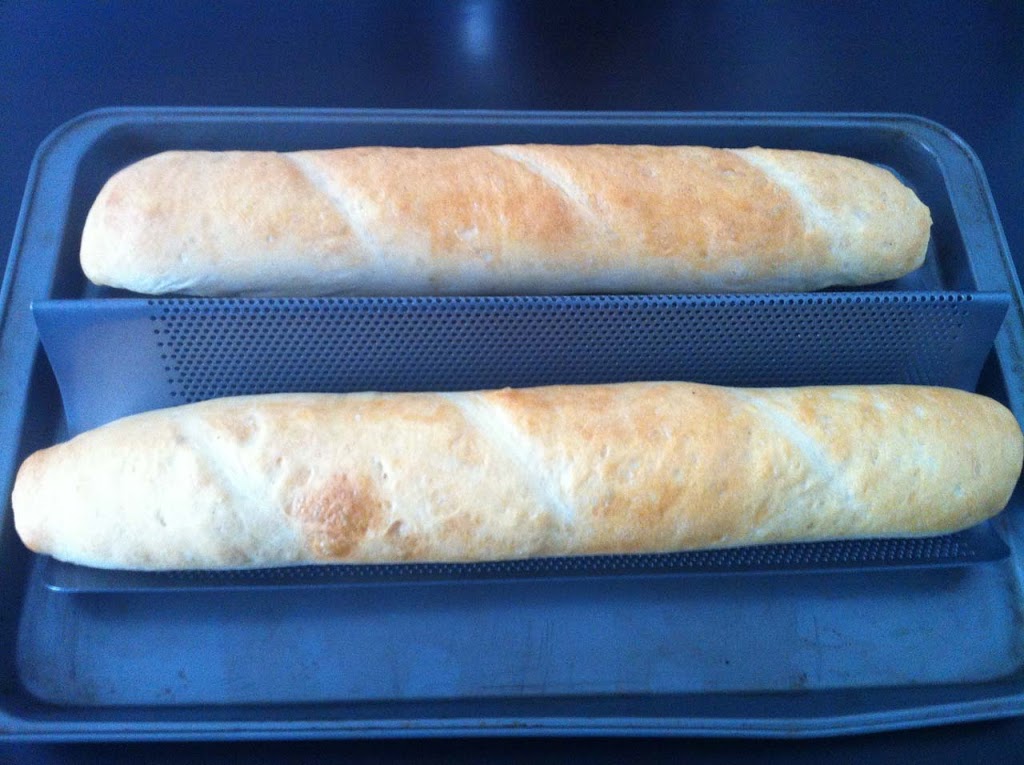
Then I waited a full 3 minutes and did one final spray. I baked the bread for a total of 20 minutes, getting a nice golden brown color and tapping the bottoms sounded hallow.

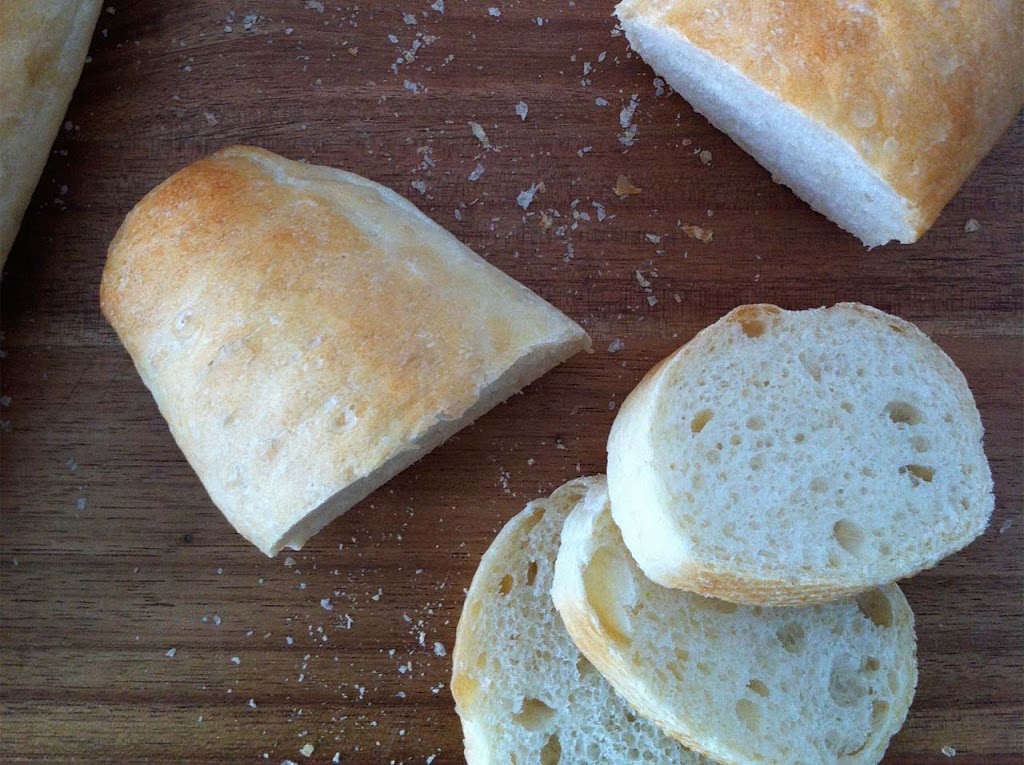
I let them cool on the rack fully before slicing into it so it could set up.

Wow, this bread turned out simply amazing! Matthew and I can’t stop talking about how good it tastes. It was beautifully golden brown, with a crispy crust, and a nice chewy inside. We have been dreaming up all the ways we will enjoy it. This bread does take quite a bit of time to make but it is well worth every minute of it. It is a labor of love and I can’t wait to make this again.