
Red, White, and Blue – Berry Cake Pops
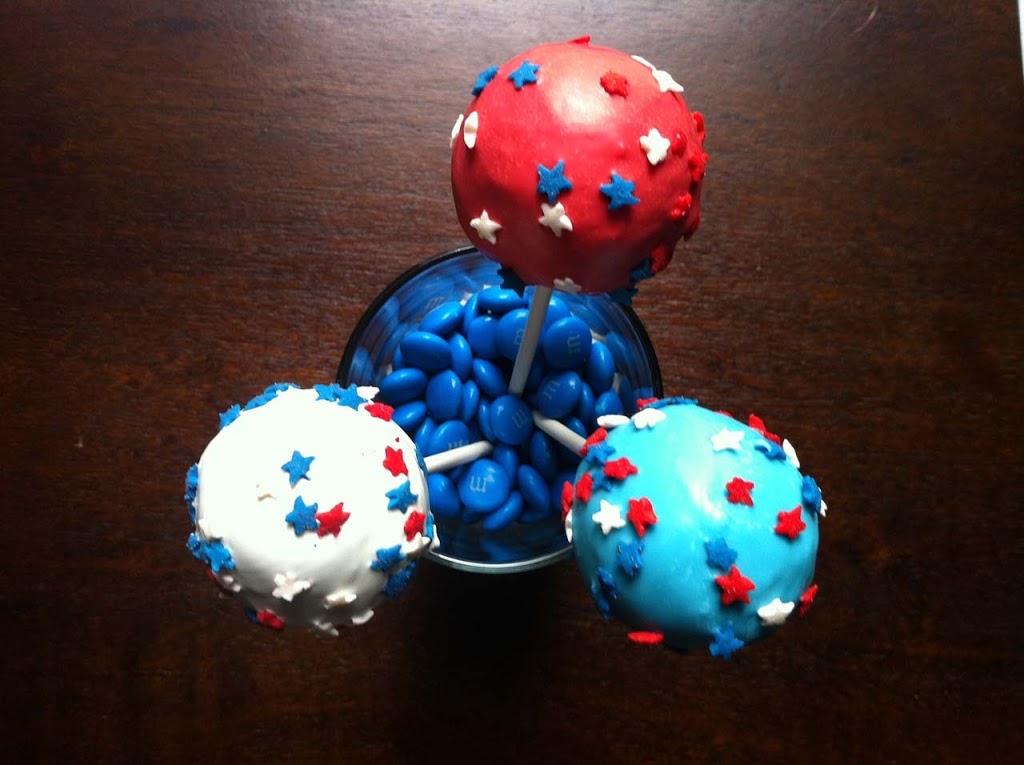
I wanted to make a fun dessert to celebrate the fourth of July holiday! Enter the Red, White, and Blue – berry cake pops! These red, white, and blue cake pops were just right for getting into the holiday spirit. You can use your favorite vanilla cake recipe as the base.
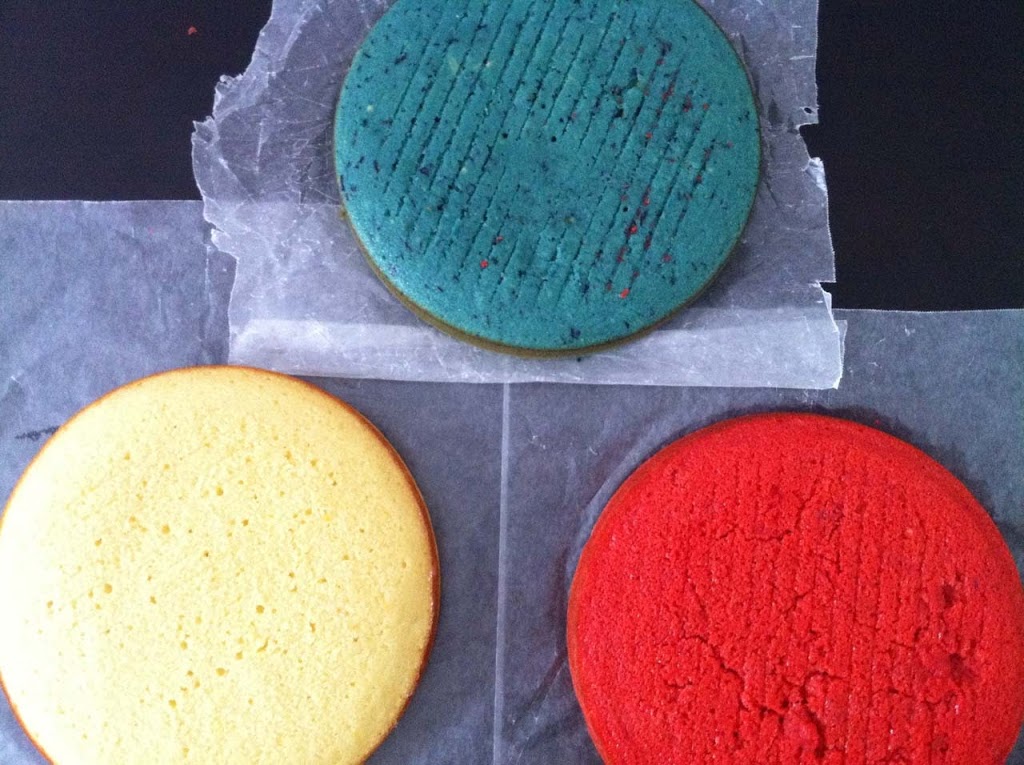
I went with with this recipe from marthastewart.com. I made 1 and a half times the recipe in order to make three 9 inch cakes. One blue, one white, and one red. For the blue, I used some blueberries and blue food coloring, and for the red I used some strawberries and red food coloring.
I made quite a few of these cake pops for a special event, but if you want to make less, just cut down the recipe, I find it to be pretty flexible.
(yields 50 – 2 Tablespoon sized cake pops)
Ingredients: (yields 3 9 inch cakes)
- 4 1/2 cups all purpose flour
- 2 1/4 teaspoon baking powder
- 1 teaspoon salt
- 2 1/4 sticks unsalted butter, room temperature
- 2 1/4 cups sugar
- 6 large eggs, room temperature
- 3 teaspoons vanilla extract
- 1 3/4 cups + 2 tablespoons milk
- 2/3 cups fresh strawberries, pureed
- 2/3 cups fresh blueberries, pureed
- 2 drops red gel food coloring
- 1/2 teaspoon blue food coloring
Vanilla Butter Cream:
- 2 stick unsalted butter, at room temperature
- 3 cups of confectioners sugar
- 1 teaspoon vanilla extract
- 2 tablespoons of milk
- candy melts
- sprinkles
I began by preheating the oven to 350 degrees and greasing 2 9 inch cake pans and lining the bottoms with cut out rounds of parchment paper. I only have 2 pans, so I needed to split up the baking.
In a medium glass bowl I whisked together 4 1/2 cups of flour, 2 1/4 teaspoons of baking powder, and 1 teaspoon of salt.
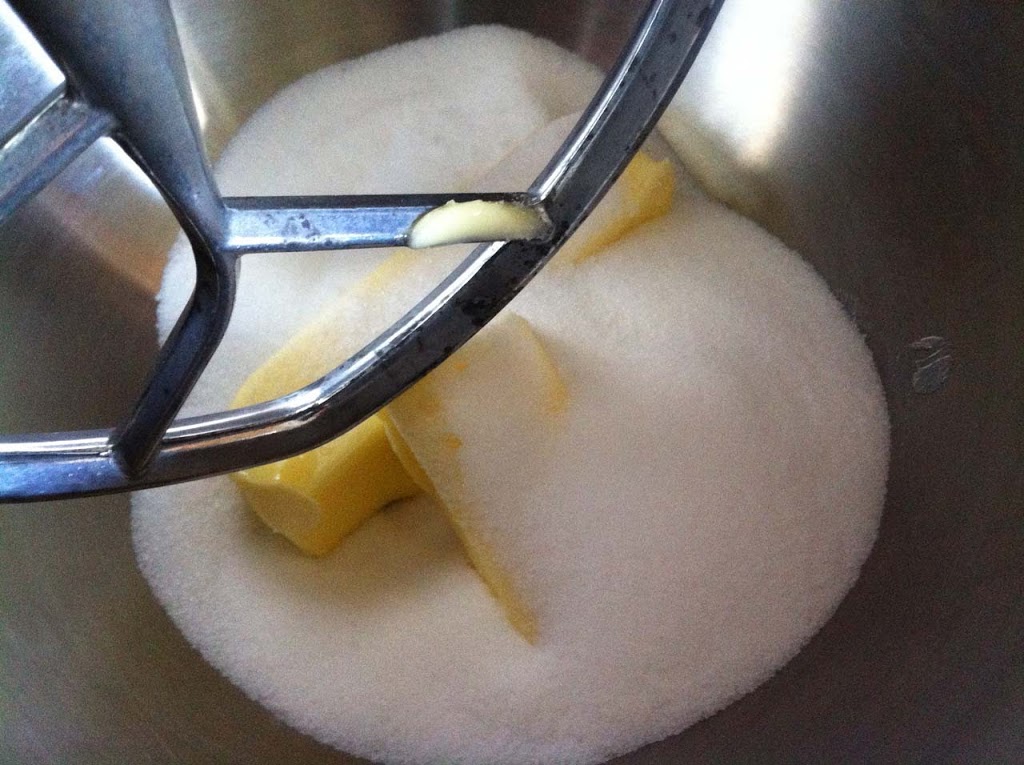
Using the mixer bowl I began creaming 2 1/4 sticks of butter and 2 1/4 cups of sugar.
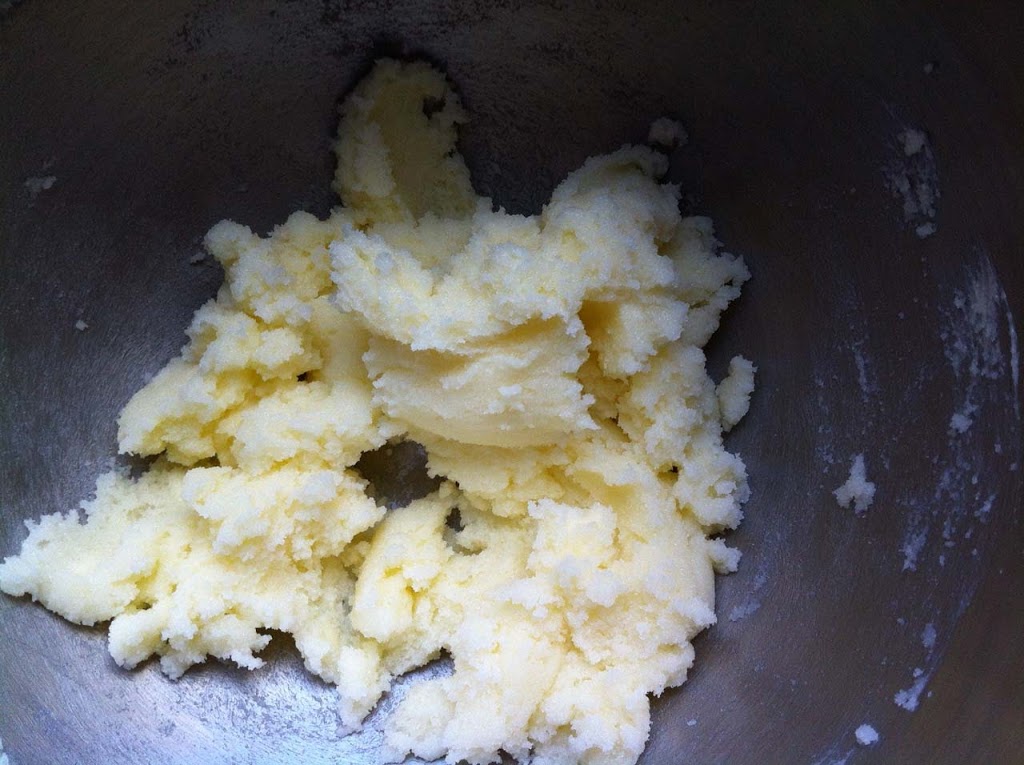
I mixed until nice and fluffy, about 5 minutes.
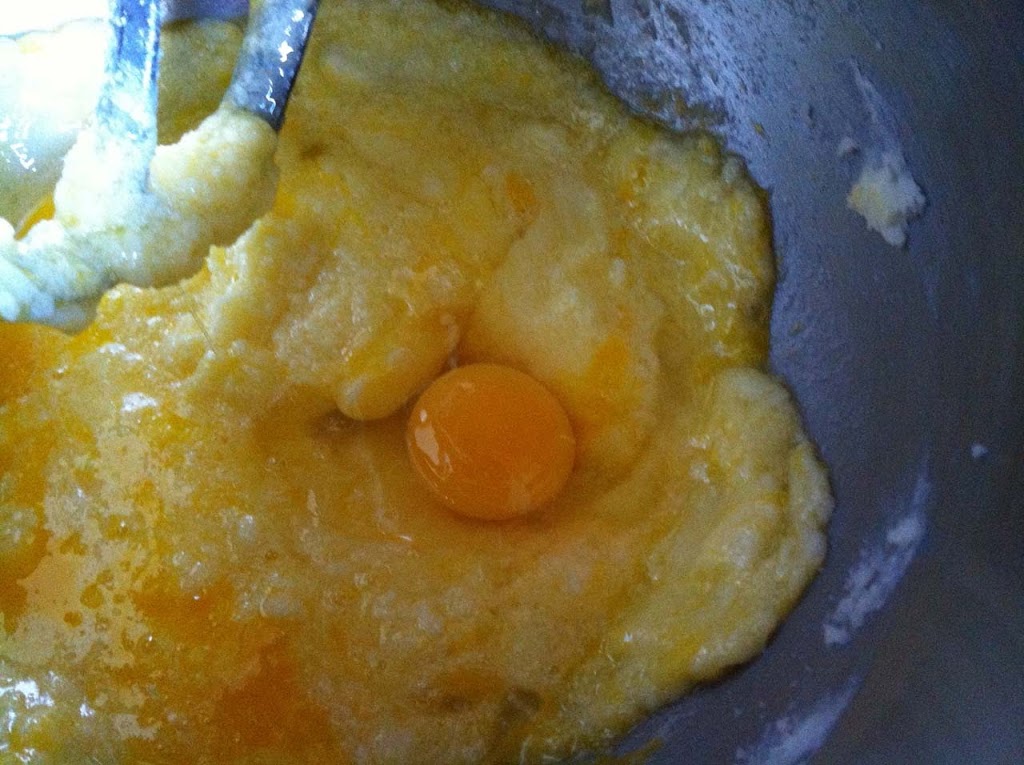
To the sugar I added 3 teaspoons of vanilla and 6 eggs. I added the eggs one at a time until incorporated.
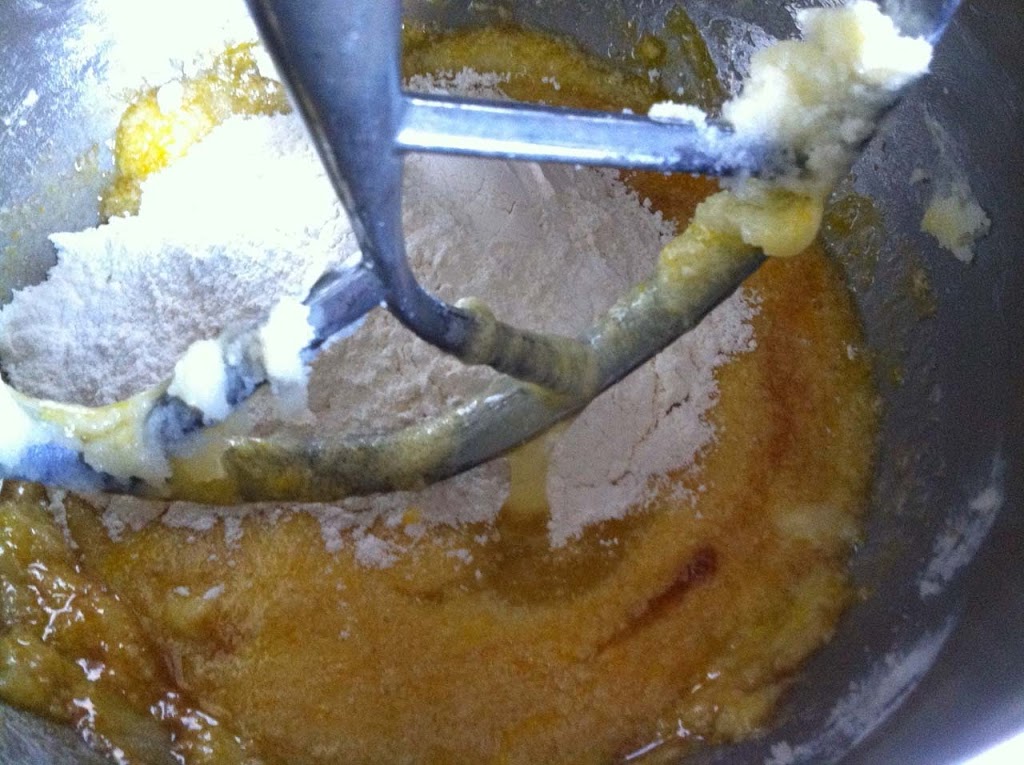
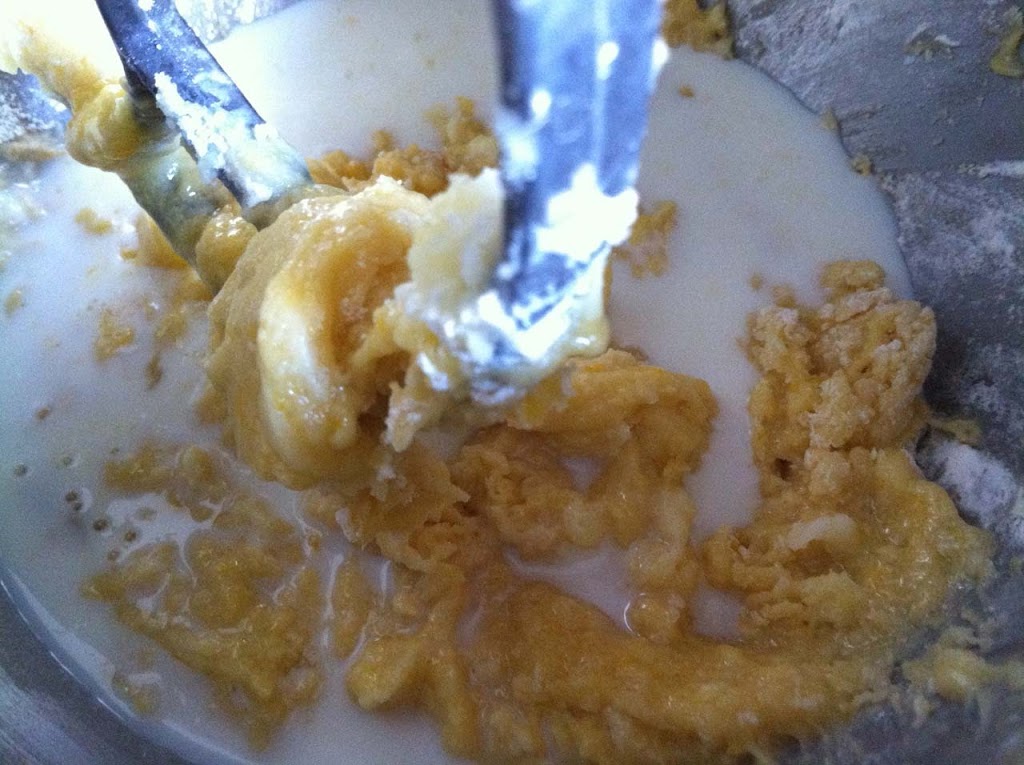
Then I added the flour mixture in three equal parts and the milk in two equal parts alternating between the two. I scraped down the bowl after each addition.
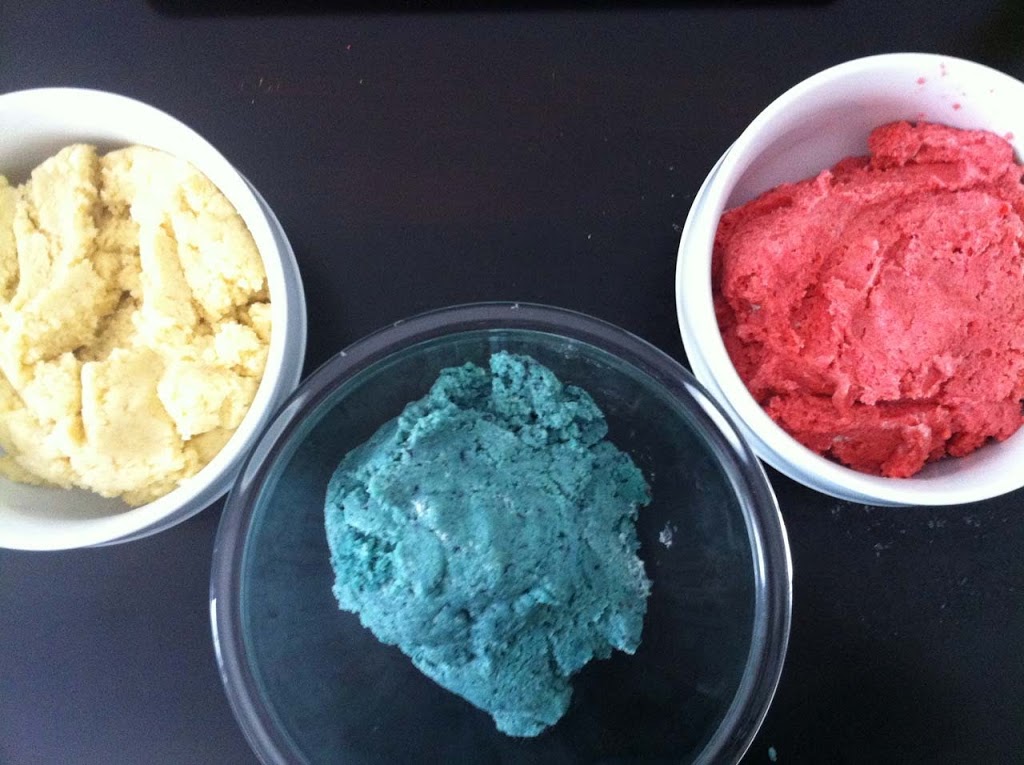
Using three bowls I divided the batter evenly.
In one bowl I added 2/3 of a cup of strawberry puree and two drops of red gel food coloring.
Once thoroughly mixed I added the red cake batter into one of the greased cake pans.
In the other bowl I added 2/3 of a cup of blueberry puree and 1/2 teaspoon of blue food coloring.
I mixed the blue cake batter thoroughly and added it to a greased cake pan.
Lastly I placed both cakes into the oven for 20 minutes. A toothpick inserted into the center should come out clean. I let the cakes cool.
While the cakes were cooling I made the butter cream.

In a mixer bowl I added 2 sticks of butter and 3 cups of confectioners sugar. I mixed until nice and smooth, about 5 minutes.
To the sugar I added 1 teaspoon of vanilla and 2 tablespoons of milk. I continued mixing until incorporated.
I scraped down the bowl and mixed the frosting on a medium setting for 10 minutes, and the frosting was nice and fluffy. For the cake I was using, it was already moist, so I did not need much buttercream frosting.
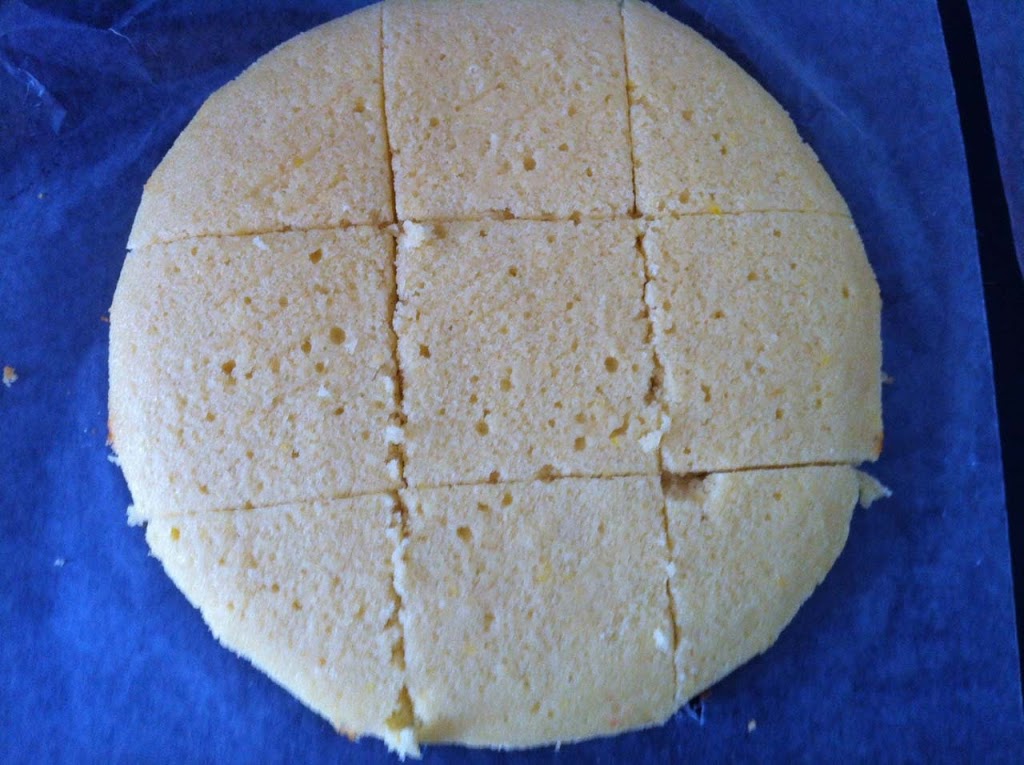
Once all the cakes were fully cooled I trimmed the outside edges from each cake. I sliced each cake into 9 pieces.
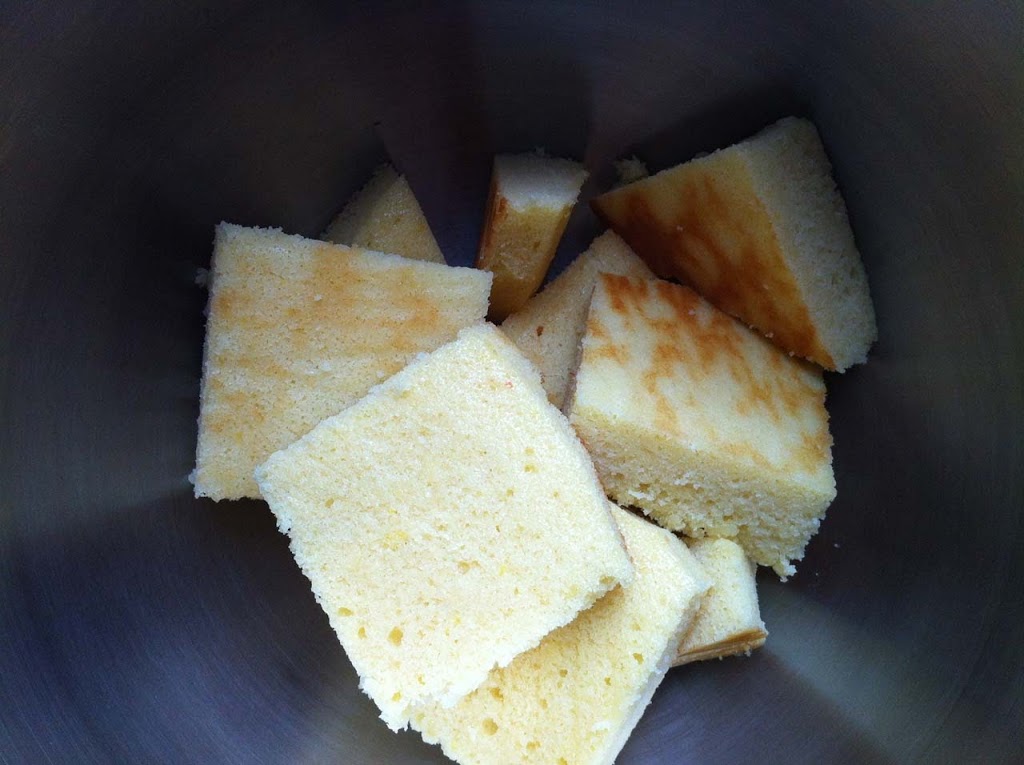
I added one cake at a time to the mixer bowl and let it mix until crumbly.
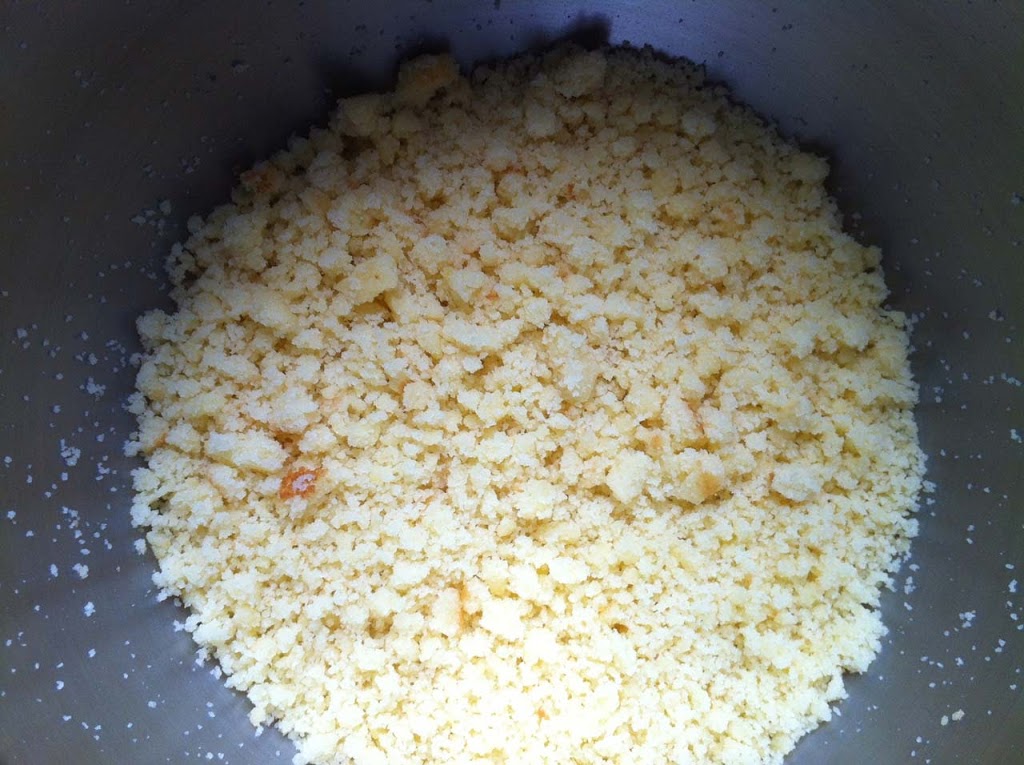
Once crumbly, I added a tablespoon of butter cream at a time until combined and the mixture was able to hold a shape. Be careful not to add to much butter cream or the consistency will become too mushy. For the cakes with the berries, keep in mind that the berries add moisture so they may need less buttercream. As a rough guideline, I ended up with about 8 tablespoons of frosting in the vanilla cake crumbs.
I cleaned the mixer bowl and began making the the next crumb and butter cream mixture for the next cake. I repeated the steps above and made sure to clean the bowl before starting the next cake.
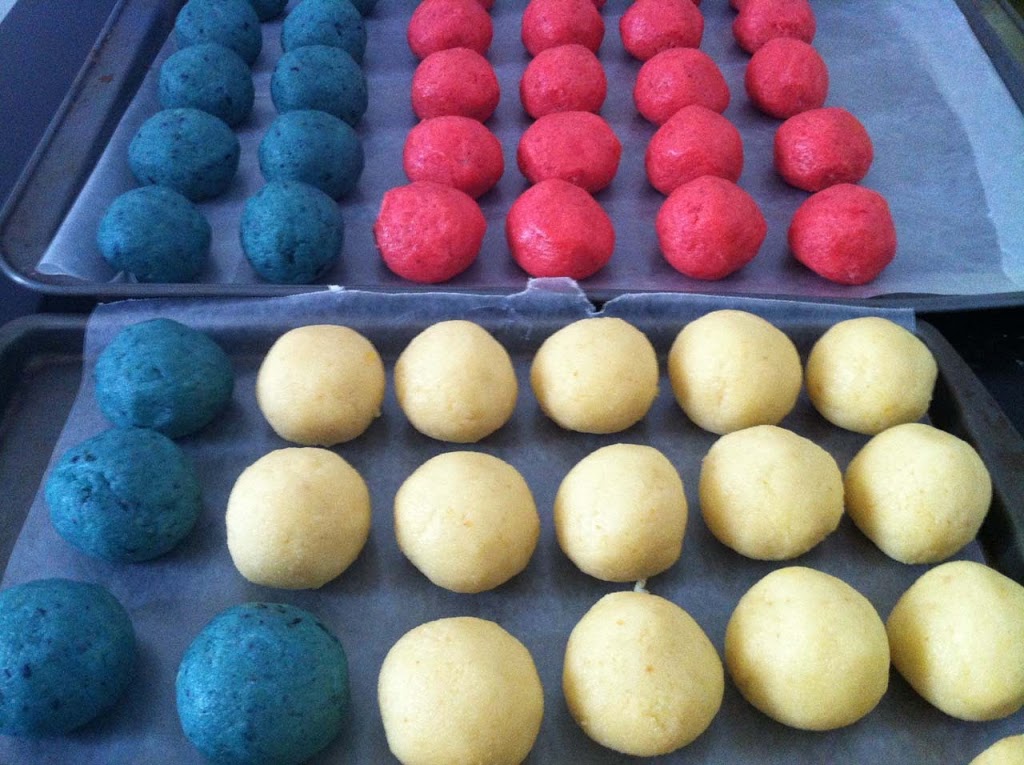
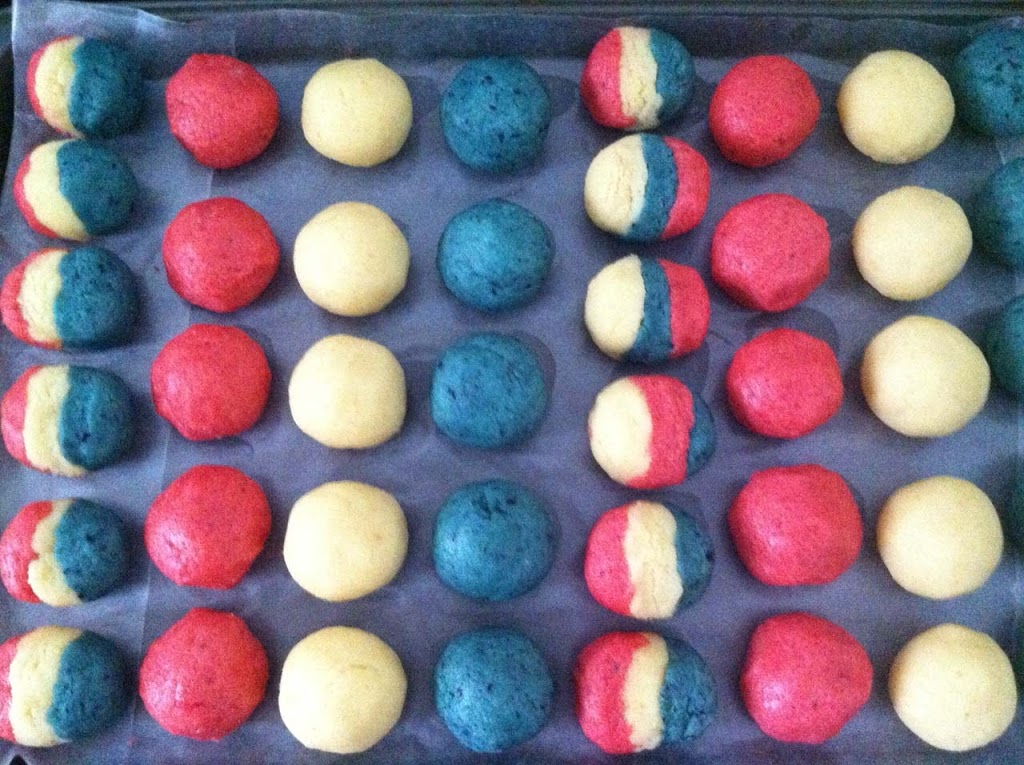
I lined 2 cookie sheets with waxed paper. Using a tablespoon I measured out 2 tablespoons at a time of the cake mixture and shaped them into a ball. I placed the cake balls onto the cookie sheets.
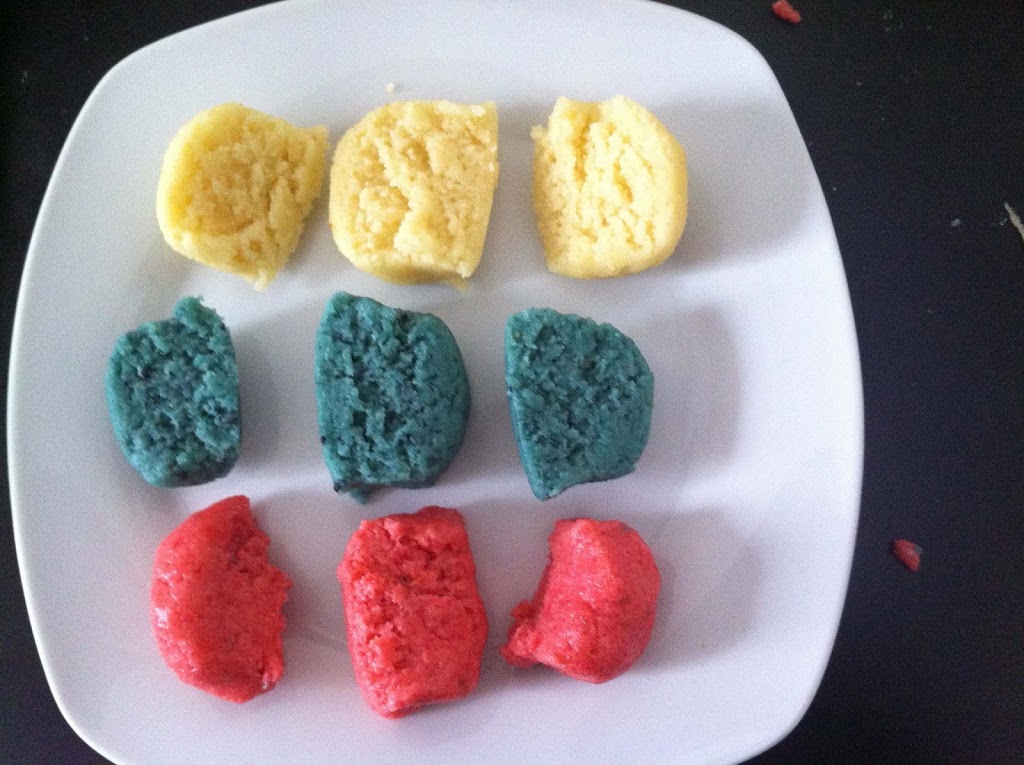
Once all the cake balls were rolled, I cut a few of each color into thirds to make some of the cake pops multicolored.
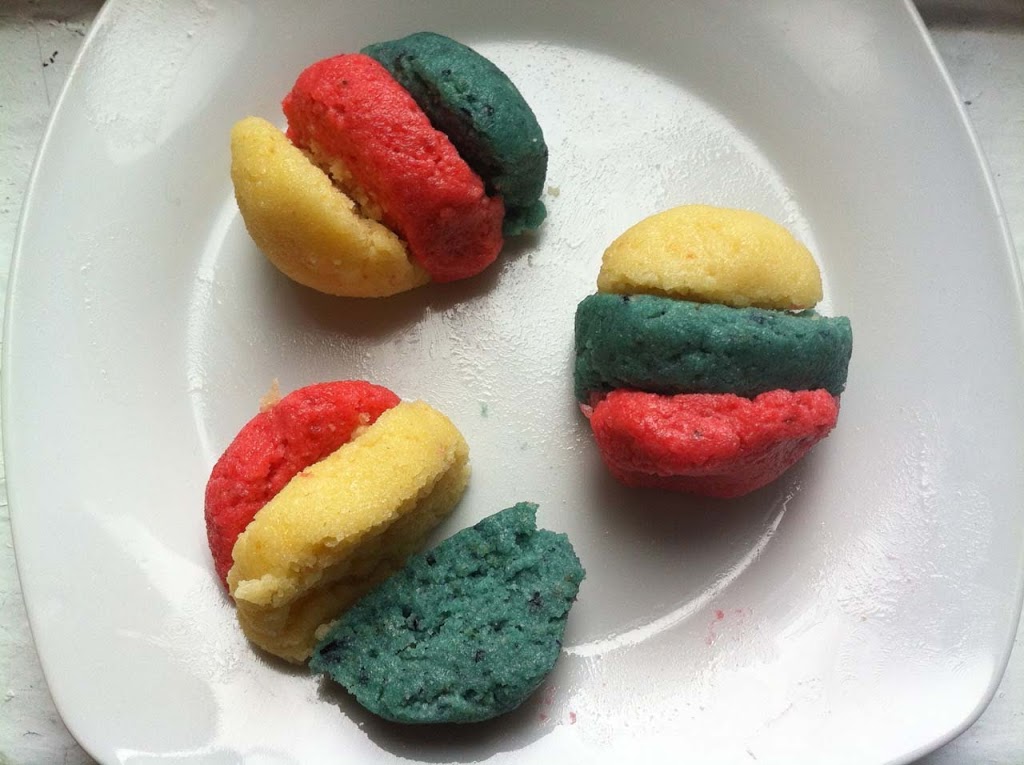
I then assembled the cake ball so each cake had a proper middle piece and two end pieces, and each ball containing some combination of red,white, and blue.

I gently pinched each piece together at the seams and gently shaped it into a ball.
Once I had the cake pops how I wanted, I wrapped the cookie sheet in plastic wrap and placed the cookie sheet into the freezer for 15 minutes.
After the 15 minutes was up. I placed the cake pops into the refrigerator for 20 minutes.
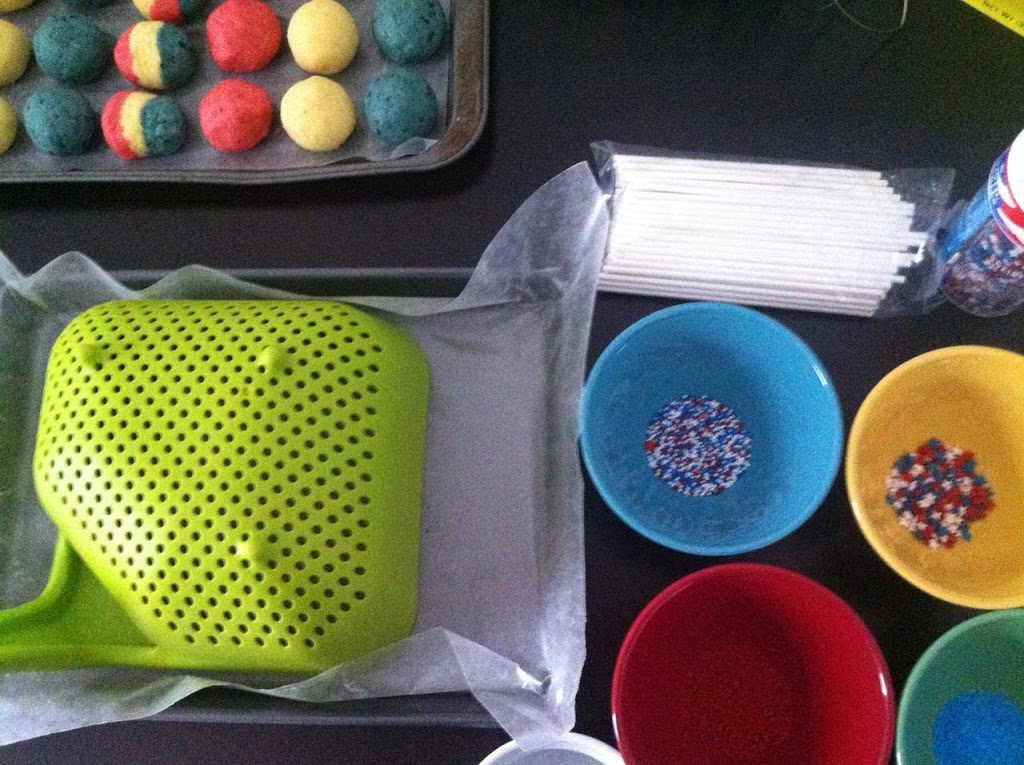
During the 20 minutes I set up my work space with bowls of different sprinkles, I also lined a tray with waxed paper and placed my strainer upside down on the tray. I used the strainer to hold the cake pops while they dried.
During the last 10 minutes I melted some candy melts in a double boiler until melted, but not hot. I used one color at a time so I didn’t have to deal with the melts hardening.
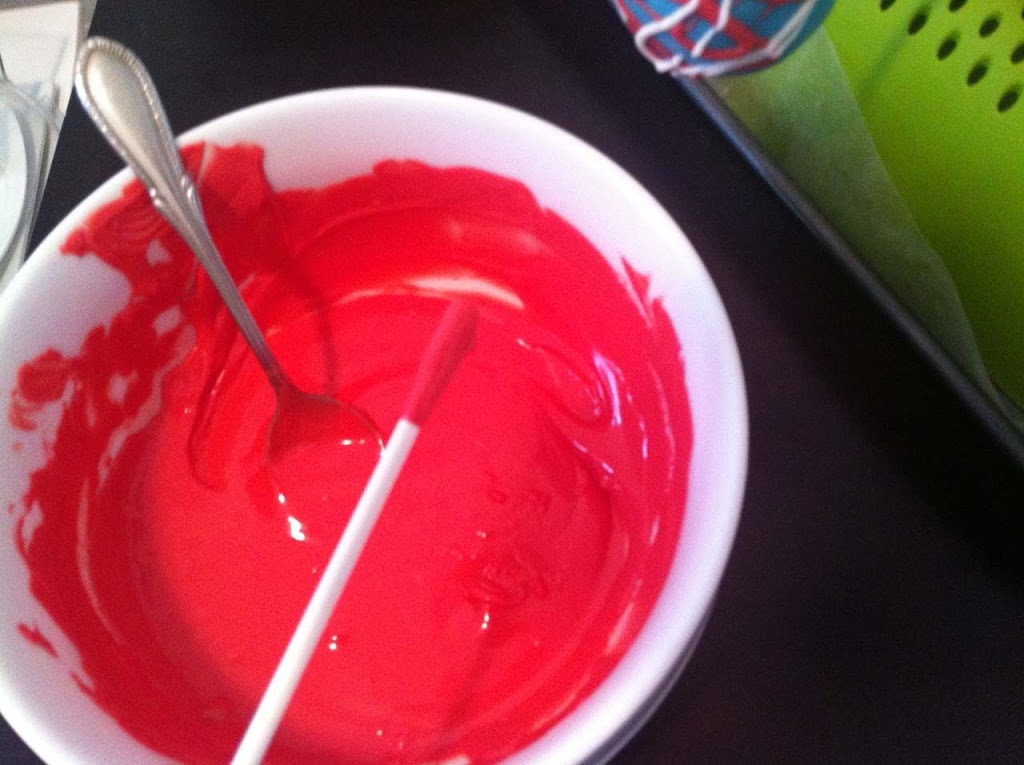
For assembly, I dipped the tip of the stick into the candy coating
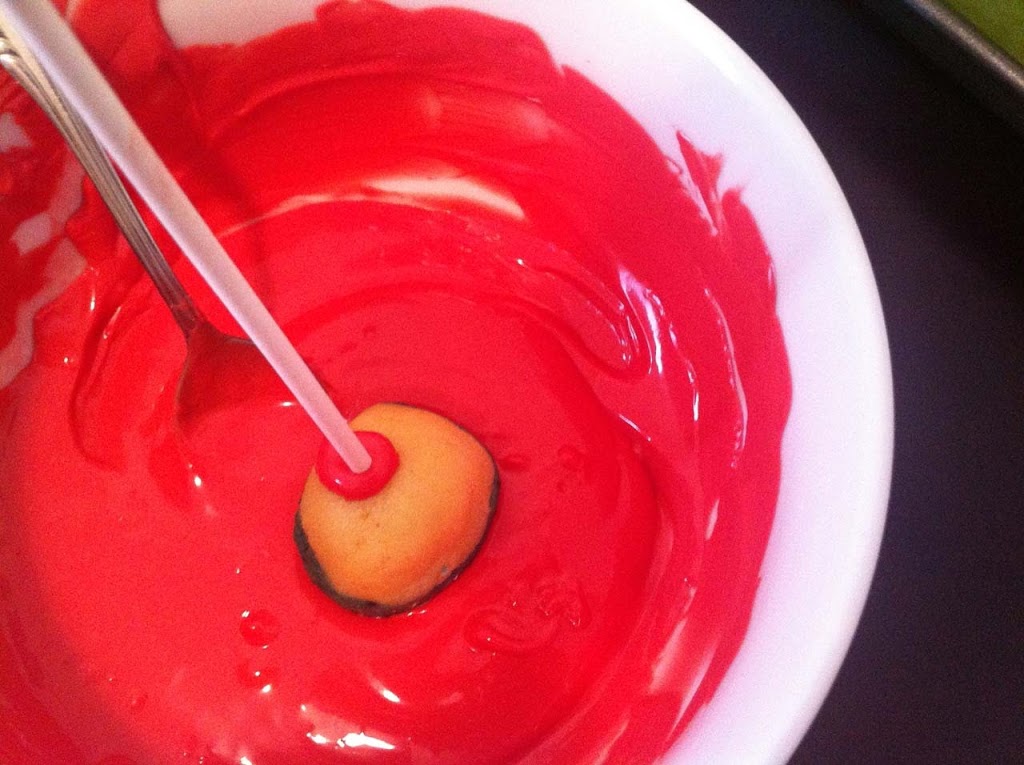
I inserted the candied end of the stick halfway into the cake ball. I placed the cake pop into the candy coating and used a spoon to assist in covering the cake pop.
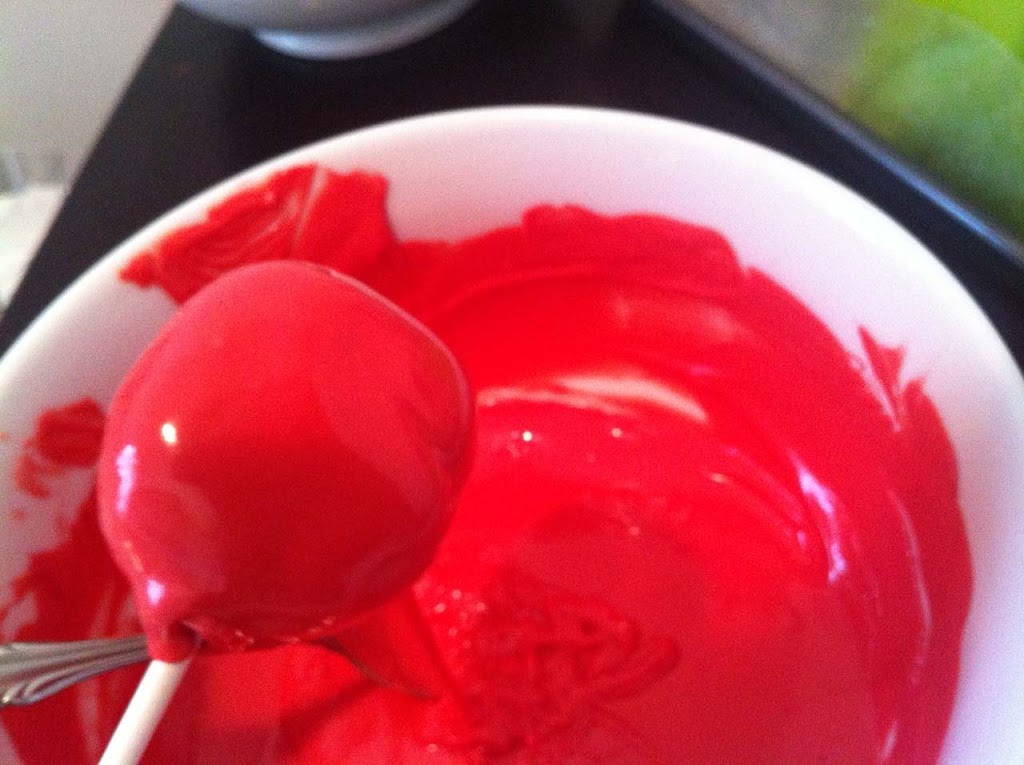
I then gently twirled and tapped the cake pop stick against my finger to help remove the excess coating.
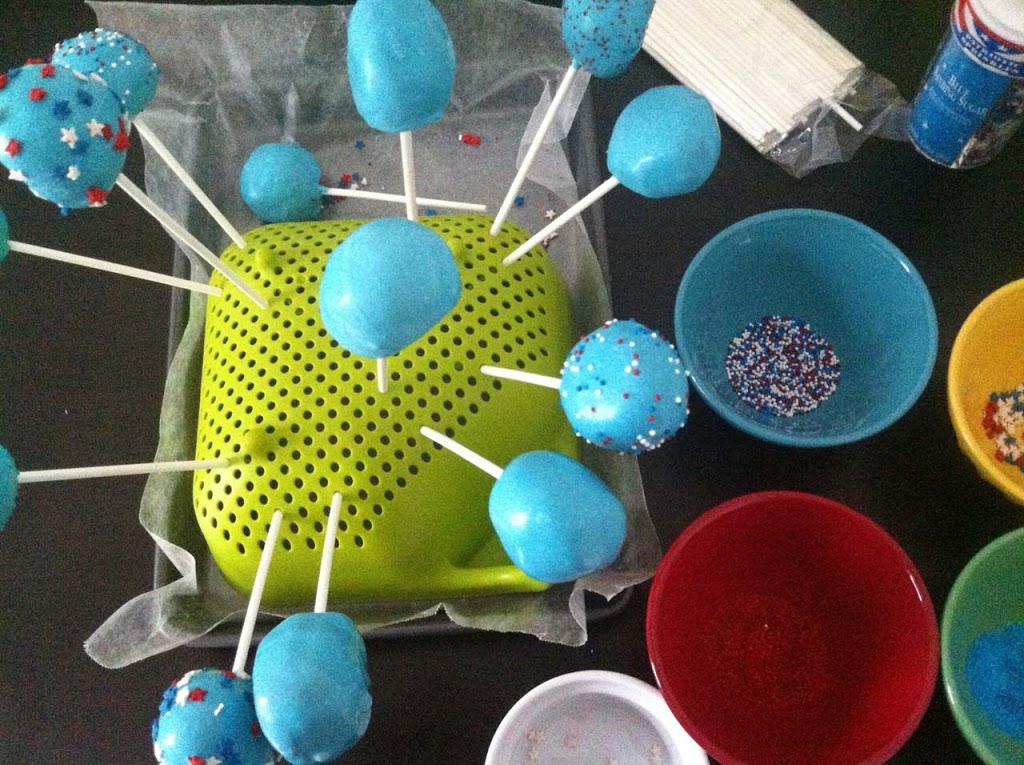
I decorated the cake pops while still wet, and placed them in the strainer to set.
Cake Pops have become pretty popular. They are a tricky dessert in my opinion, because you have to be very careful with the “mushyness” of your cake mixture. If you add too much frosting to an already moist cake, it can ruin the taste and texture. But, when pulled off correctly, the fun, hard candy shell with a moist and sweet center is delicious. They also afford an endless possibility of decorating and flavor combinations. Finally, they do also look real fun!