Homemade Pop-Tarts
I always enjoyed Pop-Tarts growing up though we never seemed to have them as often as I would have liked… like, everyday. Strawberry and Brown sugar cinnamon were my favorites, I would pop them in the toaster at breakfast, take them out, and then break off the crust because I always found it to be a bit bland. Really it just got in the way of the best part, the filling!
It has been a very long time since I last indulged in those beloved childhood treats and after seeing dozens of homemade versions on the internet and even at a bakery or two I always kept the idea of making my own homemade version in mind.
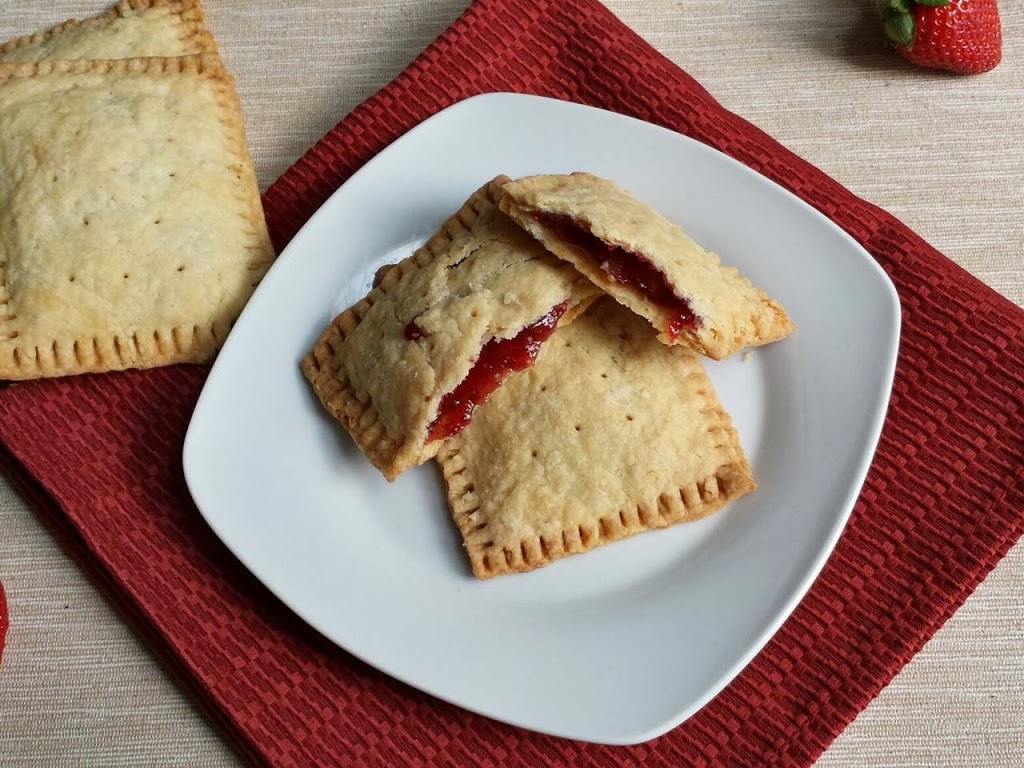
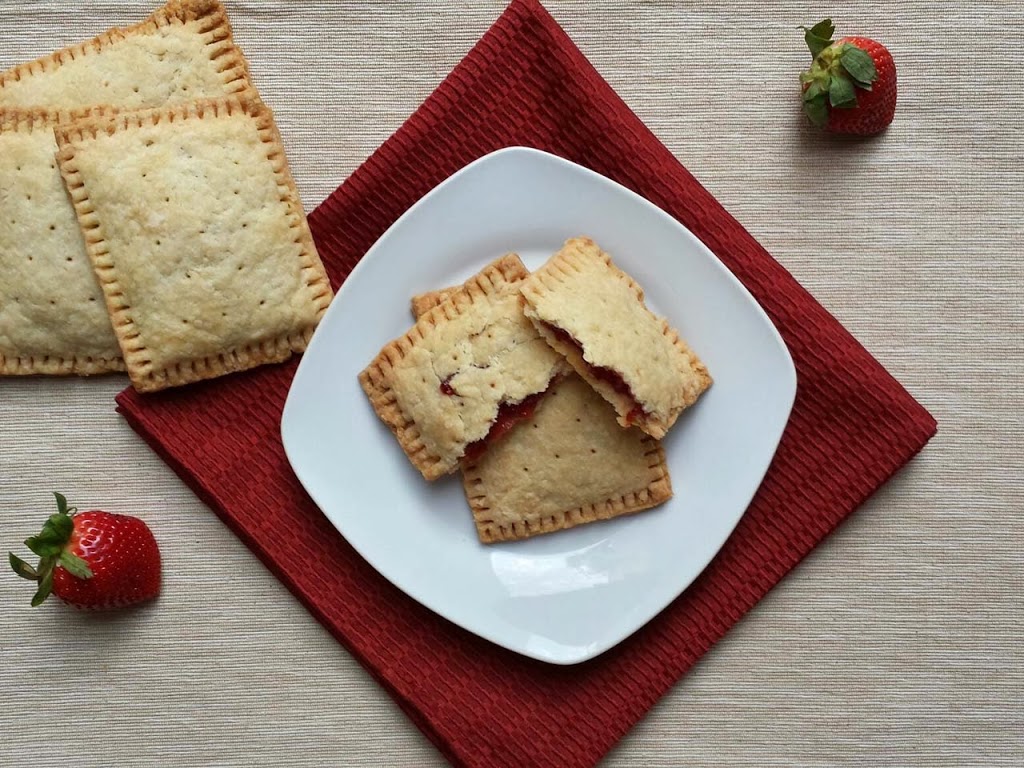
Then over the holidays Matthew’s mother sent me some of her terrific homemade jam in my favorite flavor strawberry-raspberry! Just looking at that beautiful red hue, one idea instantly came to mind… homemade Pop-Tarts. I used the recipe from kingarthurflour.com. These Pop-Tarts turned out great crust and all. Soft, flaky and and a beautifully gooey center. I had planned on making a simple glaze to go on top but I really fell in love with that classic dimpled Pop-Tart look. I think I will try out a glazed version next time and experiment with other flavor options.
- 3/4 cup of jam
- 1 tablespoon of cornstarch
- 1 tablespoon of cold water
- EXTRA: 1 egg, beaten (for brushing the pastry)
Pastry: (yields 9 pastries)
- 2 cups of all purpose flour
- 1 tablespoon of sugar
- 1 teaspoon of salt
- 1 cup of unsalted butter, cut into pats
- 1 large egg
- 2 tablespoons of milk
Divide the dough in half and shape each half into a thick rectangle. You can roll out the dough from here or you can wrap each half in plastic wrap and refrigerate it for up to 2 days. If you refrigerate the dough make sure you allow it to come to room temperature for about 15 minutes before rolling it out.
Assembly:
Place one half of the dough onto a lightly floured work surface and roll it out into a 1/8” thick rectangle making it large enough so it can evenly be trimmed into a 9″ x 12” rectangle. (Once I was close I used my 9″ x 13” pan gently laid over the top of the dough for a reference). Gently score the dough lengthwise into thirds. Then cut out nine 3″ x 4″ rectangles.
Carefully transfer the nine separated rectangles of dough onto a parchment lined baking sheet.
Beat the remaining egg and bush it over the entire surface of each of the nine rectangles that are on the baking sheet. Place a heaping tablespoon of filling into the center of each rectangle, making sure to leave a bare edge of dough around each rectangle.
Roll, score, and cut out the second section of dough the same as you did with the first one. Place a second rectangle of dough on top of the first nine. With your fingertips, firmly press around the filling, sealing the dough well along the edges. Press the tines of a fork around all the edges of each rectangle. Prick the tops of each tart multiple times with a fork to allow for steam to escape.
Refrigerate the tarts,(they don’t need to be covered) on the baking sheet for 30 minutes. In the meantime preheat the oven to 350 degrees. Remove the tarts from the refrigerator and bake them for 25-30 minutes, until light golden brown. Let them cool on the pan.


